Dagster is an open-source orchestrator that's designed for developing and maintaining data assets, such as tables, data sets, machine learning models, and reports. Dagster is built to be used at every stage of the data development lifecycle - local development, unit tests, integration tests, staging environments, all the way up to production.
Here we will be going through how to setup/ deploy Dagster locally on macOS on an M1 and M2 Macbook.
1. Pre-requisites
Install Python:
-
Download the python file and run it , dagster supports python3.8+ Python Releases for macOS.
-
Check python installation.
python --version
pip --version
Thats it ! If you have python 3.8 or higher installed go to step 2.
2. Create a virtual environment
creating a virtual environment help keep all the dependencies of the project in one place.
mkdir dagster-demo
python -m venv <myenv>
3. Installing Dagster
Installing dagster using pre-built wheel package for M1 and M2 machines
[#Activate](https://www.newtuple.com/blog/hashtags/Activate) the virtual env
source myenv/bin/activate
[#install](https://www.newtuple.com/blog/hashtags/install) dagster
pip install dagster dagster-webserver --find-links=https://github.com/dagster-io/build-grpcio/wiki/Wheels
or
pip install dagster dagster-webserver
4. Creating a project
Using the default project skeleton
The dagster project scaffold command generates a folder structure with a single Dagster code location and other files, such as pyproject.toml and setup.py. This takes care of setting things up with an empty project, enabling you to quickly get started.
dagster project scaffold --name my-dagster-project
This is the structure of my-dagster-project

5. Install project dependencies
The newly generated my-dagster-project directory is a fully functioning python package and can be installed with "pip install -e" for local code changes are automatically applied.
cd my-dagster-project
pip install -e ".\[dev\]"
6. Running the UI locally with the project
This command loads the file from my-dagster-project and spins up an UI
dagster-dev
“Voila!” Use your browser to open http://localhost:3000 to view the project.
This command also starts the Dagster daemon. For more info https://docs.dagster.io/guides/running-dagster-locally
7. (Example) Creating your first data pipeline in Dagster
Add this code in you asset.py file , keep in mind to change the file name and postgres url. Note - In Dagster, an asset represents a piece of data. This could be a DataFrame, a table in a database, or any other data object. The @asset decorator allows you to represent Python functions as assets in the Dagster framework. In our example below, we've created two assets, one for loading data from a csv and the other for writing it into a Postgres database table.
import pandas as pd
from dagster import asset
from sqlalchemy import create\_engine
import psycopg2
@asset(group\_name="Demo")
def loading\_data (context) -> pd.DataFrame :
    csv\_path = "/path/to/csv/example.csv"
    df = pd.read\_csv(csv\_path)
    context.log.info(f"Read {len(df)} rows from {csv\_path}")
    return df
@asset(group\_name="Demo")
def write\_to\_postgres(context, loading\_data) -> bool:
    postgres\_uri = "postgresql://user:password@localhost:5432/my\_db"
    df = loading\_data
    engine = create\_engine(postgres\_uri)
    df.to\_sql("my\_table", engine, if\_exists="replace", index=False)
    context.log.info(f"Data written to PostgreSQL table 'my\_table'")
    return True
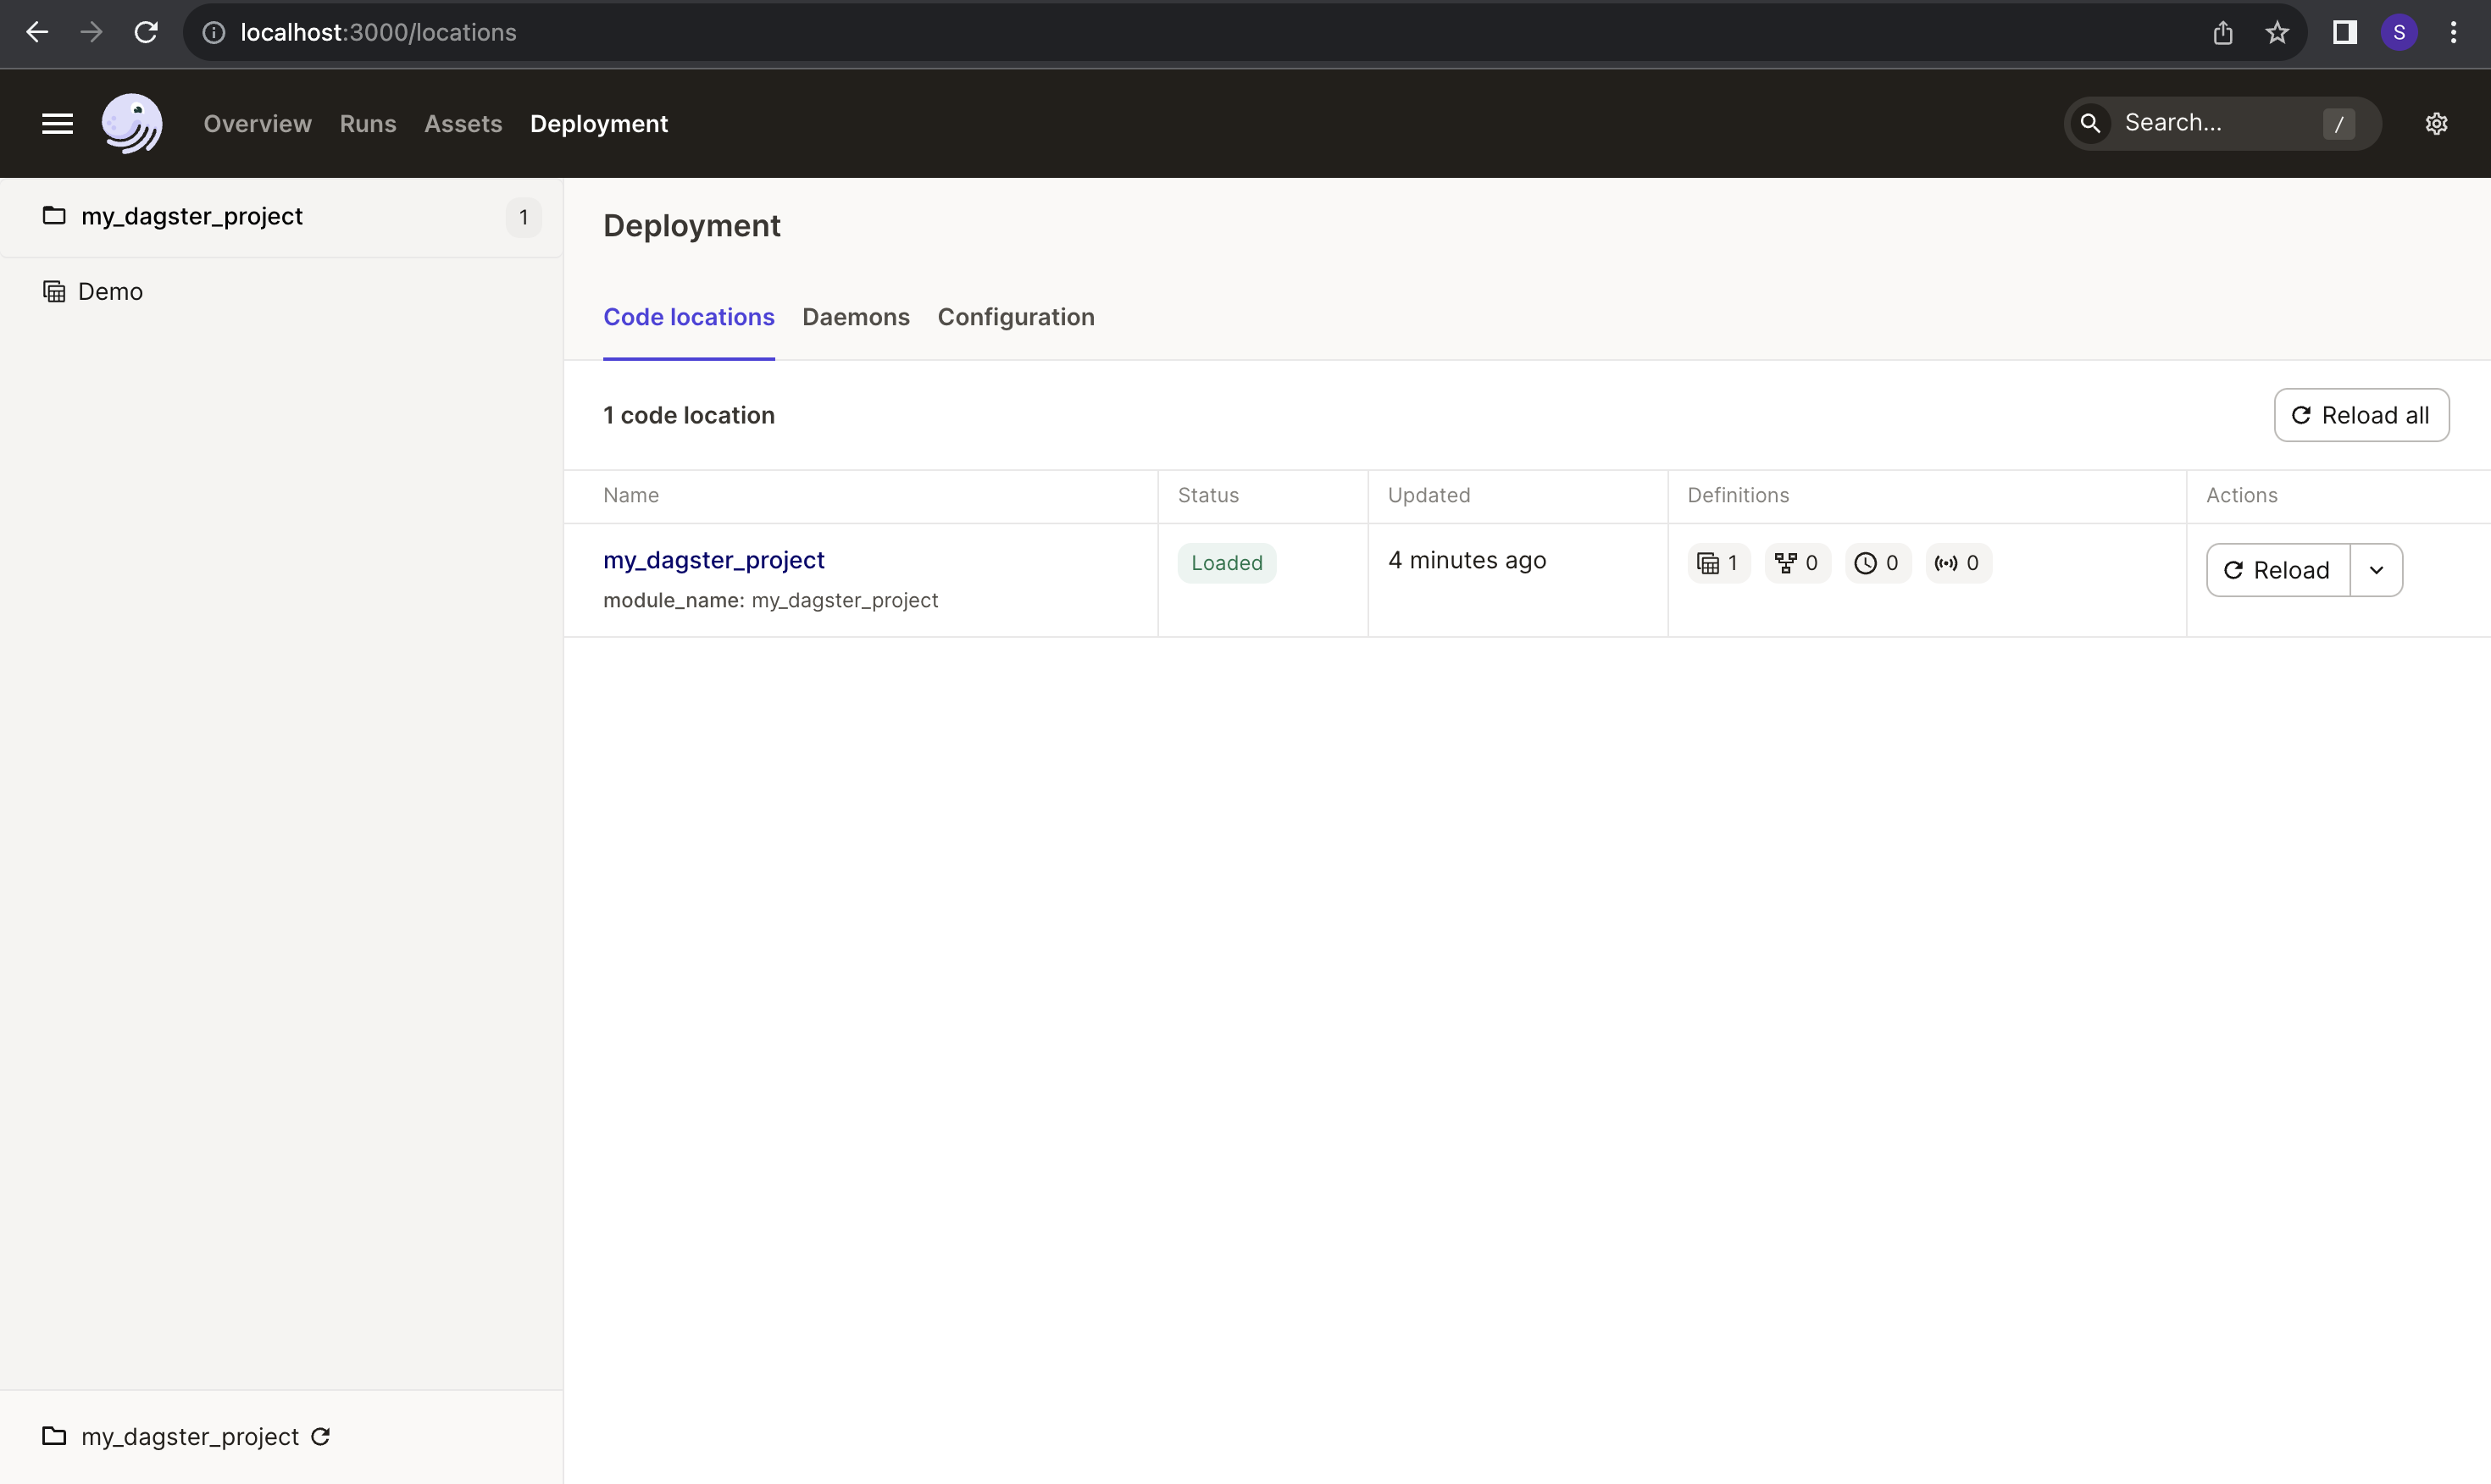
Copy this and go to dagster and click on "Reload all"
8. Now you will be able to see your pipeline and run it in the UI
Click on my_dagster_project then on "Materialize all" to run your pipeline. Note that the assets you defined in the previous step, now show up as two different nodes in the flowchart - as they represent two different data operations.
 Dagster Project Example
Dagster Project Example
Thats It !! This is an example of a very simple data pipeline you've created in Dagster. Refer to the documentation to build pipelines as per your own use-case.
Conclusion:
In this article , you learned how to install python and dagster in macOS and creating a simple project using pre-defined project skeleton . Now can you start your development lifecycle, with integrated lineage and observability, a declarative programming model and testability.
Happy learning !!
Tags: